Building the LeRobot SoArm
I set out to build an accessible, desk-friendly manipulator for quick prototyping, and LeRobot's SoArm design checked the right boxes: compact footprint, easily sourced parts, and a software stack that works with ROS 2 or the LeRobot Python API. This post summarizes the hardware I picked, how I wired the STS3215 servos, and the initial motion tests.
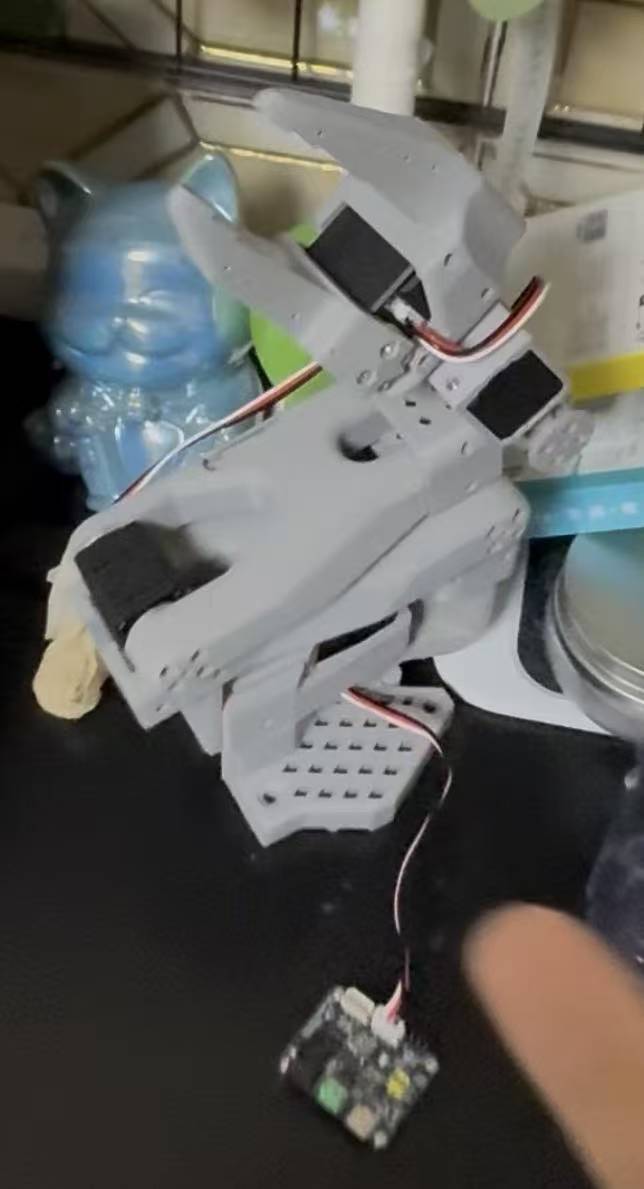
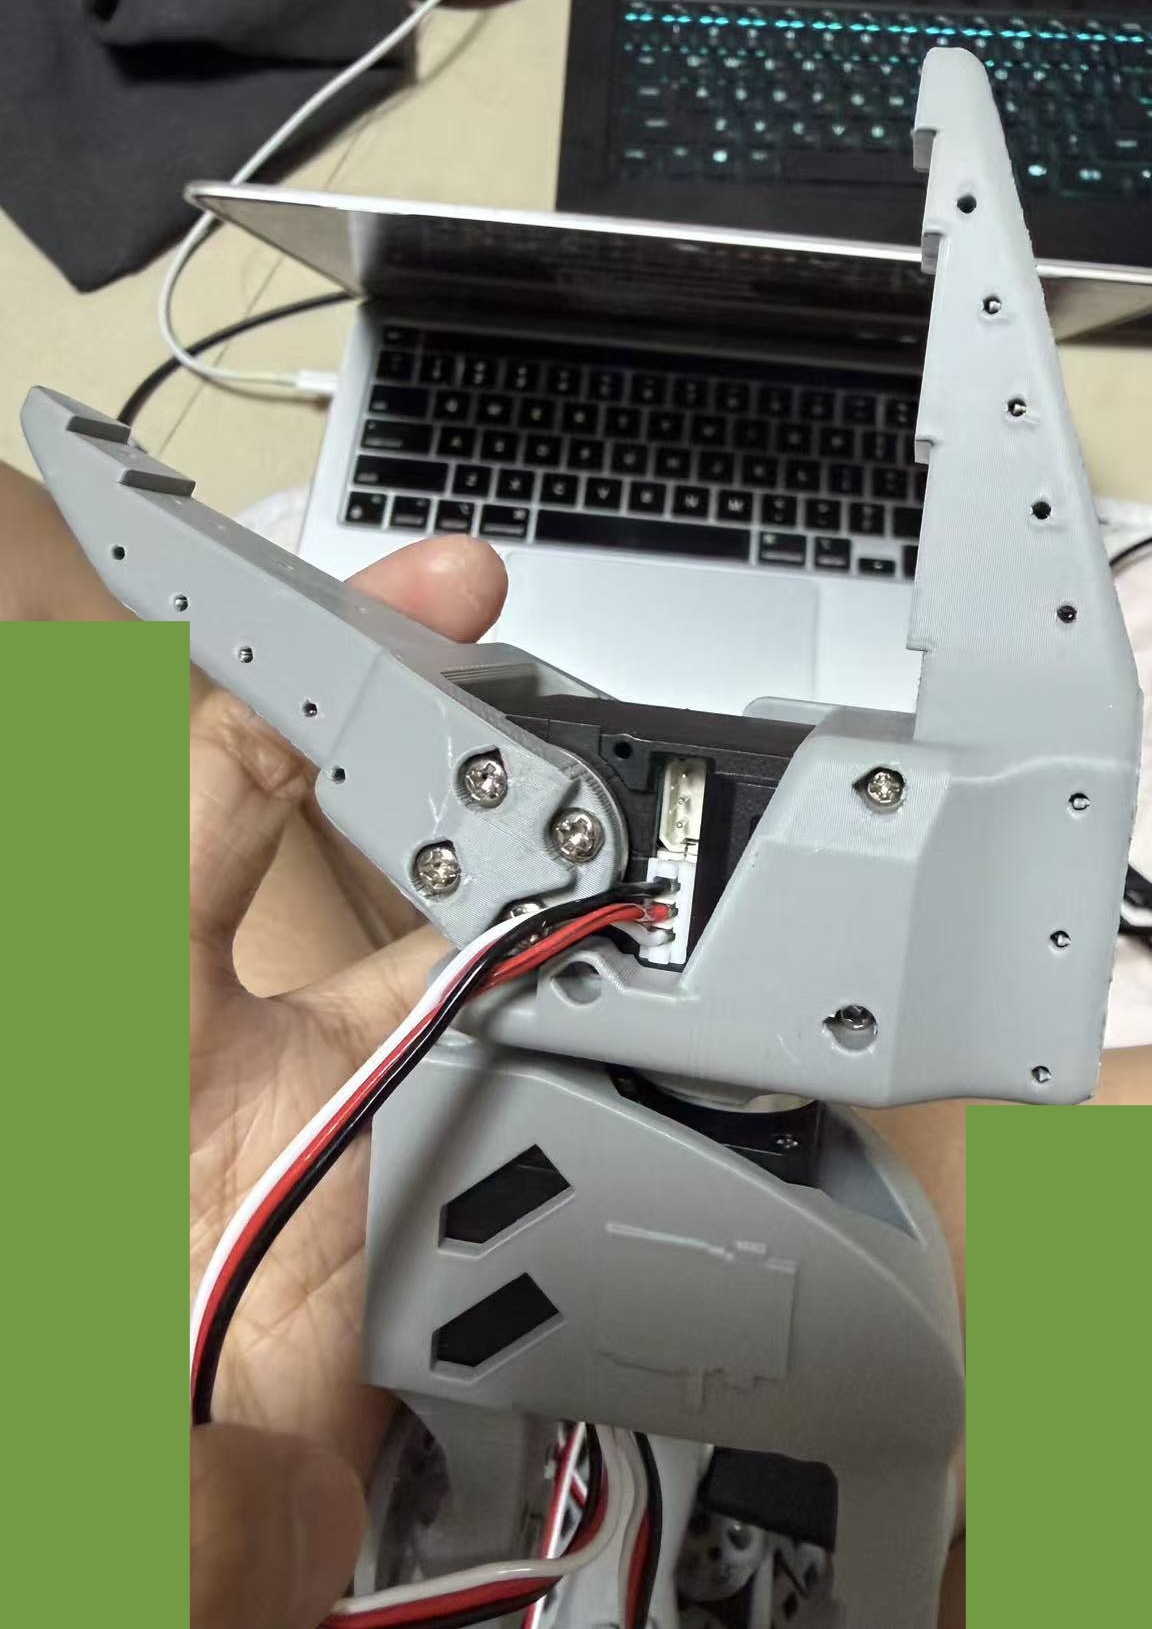
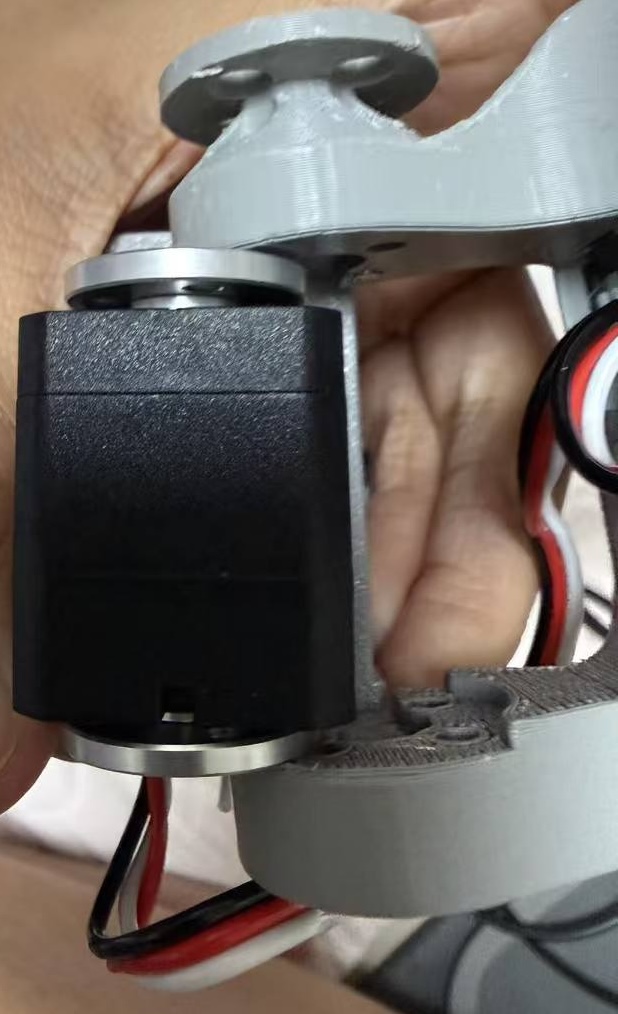
Electronics and Wiring
The STS3215 bus runs daisy-chained with short JST-SM leads tucked inside the spine. I flashed unique IDs before installing each joint to avoid confusion later. The Teensy handles the UART bus and publishes joint states over USB; the mini-PC runs ROS 2 nodes and low-rate planning.
# STS3215 IDs after flashing
servo_map = {
    "base": 1,
    "shoulder": 2,
    "elbow": 3,
    "wrist_pitch": 4,
    "wrist_roll": 5,
    "gripper": 6,
}